
Putting an image on a base screen
 Home Tab
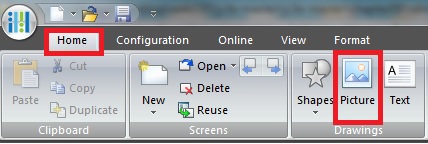
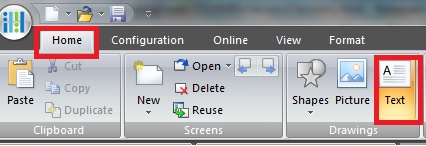
From the Home tab, in the Drawings group, click Picture. The mouse cursor changes to show a + and a picture
 Symbol Library
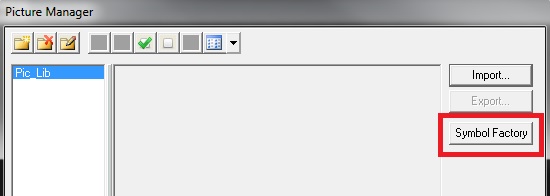
Click the location on the base screen to place the picture. The Picture Manger will appear and select Symbol Factory
 Select Symbol
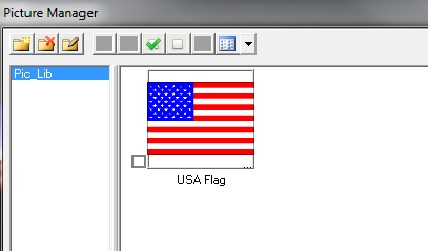
Under the categories select Maps and Flags and under symbol select the USA Flag. This should put the USA flag into the picture manager. If you select more images, they too will appear under the picture manager.
 Picture Manager
You should now have a flag in your picture manager. Make sure you do not select the box underneath unless you have a memory card. If you select the box underneath withtout a memory card than it will be blank on your screen when you download the program. Left mouse click the flag and the image should now be on your base screen.
 Placement and Size
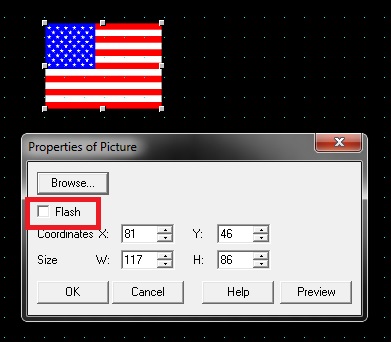
Now that you have the Flag on your screen, you can left mouse click and drag it to where you want or increase the size. You can also double left mouse click the flag and type in size and the coordinates. In the box you can also select flash to blink the image.
 Home Tab
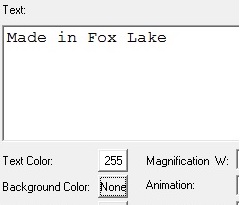 Text Property
 Text Image
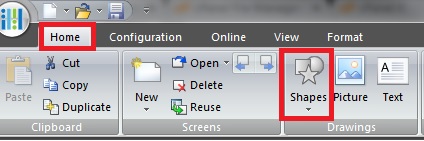 Home Tab
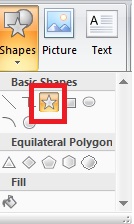 Symbol Library
 Select Symbol
 Picture Manager
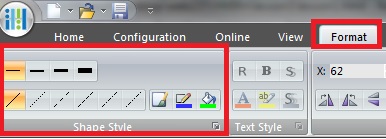 Placement and Size
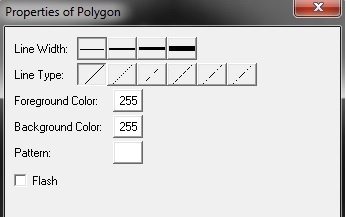 Placement and Size